Tuesday, August 6, 2013

Crate 'n Barrel

We use a lot of small terrain pieces in Necromunda and Dark Heresy. These are my Sci-Fi/Modern containers.


These are made from various plastic, resin, and wooden pieces from Games Workshop, Forge World, Armor Cast, a craft store, and various other sources--For example, there is a piece cut off a Star Wars Miniatures Hailfire Droid.


Most of the "bundles" or piles of containers are individual pieces glued together and then glued to a plasticard base. The plasticard was then carefully trimmed to the shape of the footprint or the pieces. However, I originally had the plasticard base cut to rectangles, but I found that to unwieldy in play.

The two large cylinders in the back are wooden rings with 40mm bases glued to the top and bottom.


These tanks are made of pieces from a Pegasus Chem-Plant kit. I wanted some additional stand alone larger container pieces. The one on the left tank is on top of a 25mm GW round base, the middle one is on a medicine bottle cap, and the right one is on a small washer.

They are unique enough to be objective markers, but I intended them for general terrain.


Speaking of objective markers! The bottom row are my Necromunda objective markers. The are assorted resin and plastic bitz from Games Workshop, Forge World, and Armor Cast. They are on 20mm square bases that were simply painted my "Necromunda Terrain Blue".

The top two rows were made by Adeptus-B and we typically use them for "blip" markers, but they can be used for objective markers too! They are numbered 1-8 on the bottom. I flipped one over as an example, but the numbers are yellow, so I'm not sure you can see it.

Monday, August 5, 2013

Moonshine Madness

OK, this has become a big thing at game nights and band practice! 

I recently made 2 new [half] batches of "moonshine", bringing my total offerings to 5 flavors. You can check out my previous posts on the subject, including recipes, here and here.

For one of the batches, the recipe is mostly unaltered, only swapping out blackberry juice for apple juice. However, the other batch is a bit different, and is a request by a friend--Chocolate Espresso. There is another request from fellow gamer and band mate that is uniquely strange and I will discuss that one if/when it comes to happen!!


BLACKBERRY MOONSHINE

Ingredients:
1 gallon Blackberry Juice
3/4 cup Granulated Sugar
3/4 cup Light Brown Sugar
2 packets Spiced Apple mix
4 whole Cinnamon Sticks
4 whole cloves
1 tsp Vanilla Extract
2 tbs Lemon Juice
500 ml (3/4 bottle) 190-Proof Grain Alcohol

Preparations:
Combine all ingredients (except for the alcohol) in a large stock pot and bring to a boil.

Remove the pot from heat and let cool to room temperature. Remove the cloves, then add in the alcohol.

Immediately transfer to sterile mason jars (I use 4 1-quart jars). I also put one cinnamon stick in each jar.

The concoction is ready for consumption, warm or cold! I store them in my beer fridge, but they will keep just fine in a cool dark place.

As with the previous batches, I estimate the final alcohol content to be about 40 proof.


CHOCOLATE ESPRESSO MOONSHINE

Ingredients:
1-1/4 gallon Freshly Brewed Espresso Coffee
2-1/4 tbs Unsweetened Cocoa
3 cups Chocolate Syrup
2 tbs Chocolate Extract
4 whole Cinnamon Sticks
4 whole Cloves
2 tbs Vanilla Extract
500 ml (3/4 bottle) 190-Proof Grain Alcohol

Preparations:
Combine all ingredients (except for the alcohol) in a large stock pot and bring to a boil.

Remove the pot from heat and let cool to room temperature. Remove the cloves, then add in the alcohol.

Immediately transfer to sterile mason jars (I use 4 1-quart jars). I also put one cinnamon stick in each jar.

The concoction is ready for consumption, warm or cold! I store them in my beer fridge, but they will keep just fine in a cool dark place.

As with the previous batches, I estimate the final alcohol content to be about 40 proof.

If anyone tries these out or has a suggestion for a future flavor, leave a comment below! Oh, I almost forgot... Any leftovers that don't fit in the jars should be consumed by the cook.

Sunday, August 4, 2013

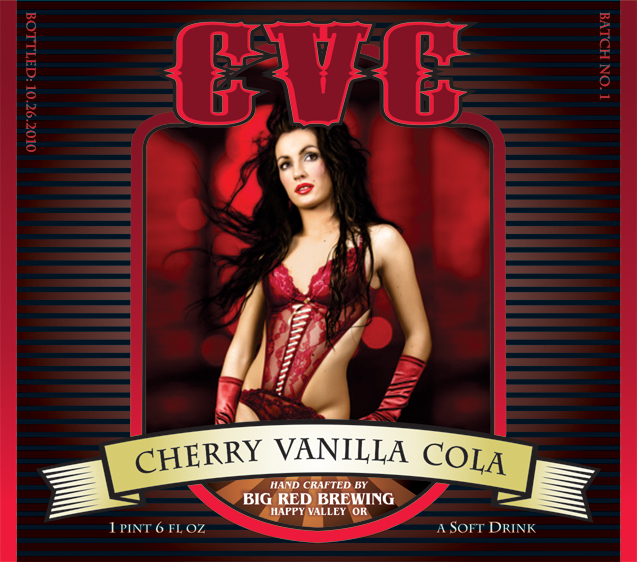
Brewing Soda - Cherry Vanilla Cola

I brewed my first batch of soda in over 3 years!


This is the second time I have done "CVC". Unfortunately last time, I did not have a dedicated "beer" fridge and the batch over carbonated. Not to the extent that it was spoiled, but it was a bit volatile when opening a bottle... Look Out!! I also changed up the recipe this time in two major ways. Firstly I used a cherry juice blend instead of pure cherry juice because the last batch was way too tart for my taste. I also used a red wine yeast instead of an ale yeast--You could really taste the "beer" notes!

Brewing soda is actually quite simple. In fact you don't even need any special equipment! At its simplest, you put flavored sugar water into a sterilized bottle, add a little yeast, cap it, wait 2 days and you have homemade soda. The "flavored sugar water" can be juice or water flavored with an extract. Typically, if using an extract, more sugar is needed. You can use any extract sold in a grocery store, but there are companies that make extracts specifically for brewing soda.

Here is my recipe for this go around: 
  • 1 cup Water
  • 4 tbs Brown Sugar
  • 5" of Vanilla Bean
  • 2 tbs Cola Extract
  • 1 tsp Vanilla Extract
  • 1 gallon Cherry Juice Blend (100% juice)
  • 1/8 tsp Dry Wine Yeast

1. Put 2 cups of juice and the rest of the ingredients (except for the yeast) in a small pot and simmer for 15 minutes. Then take off heat and let sit covered for another 20.

2. Pour the remaining juice into a jug or bucket and add the pot of liquid.

3. Put the yeast into 1/4 cup lukewarm water and let sit for several minutes until the yeast is completely dissolved.

4. Pour the yeast mix into the juice mixture and thoroughly mix.

5. Bottle and then store in a cool dark place.

6. Test carbonation in about 2 days and again in 4. Refrigerate when carbonation is just right.

I have a bottle capper as part of my beer brewing supplies, so I bottle my soda in glass bottles. But you could reuse a large plastic soda bottle--Pour the final mixture into clean and sterile plastic soda bottle(s). Replace the cap and shake. Store at room temperature for 4-6 days. The firmness of the bottle will tell you the progress of carbonation.

If you are interested in brewing your own soda, I recommend the book "Homemade Root Beer, Soda &  Pop". 

Taken off the interwebs without permission